Installation
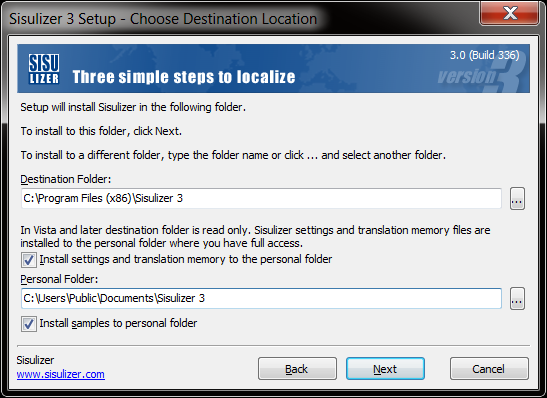
Sisulizer prompt for Personal folder to install the Sisulzer sample project files during installation. To allow public access of the sample project files, enter C:\Users\Public\Documents\Sisulizer 3 in Personal Folder text box:
Configuration
Translation Engine - Microsoft Translator
Sisulizer supports translation using translator engine. Most of the online translators are paid service. Microsoft Translator, however, is free to some extend.
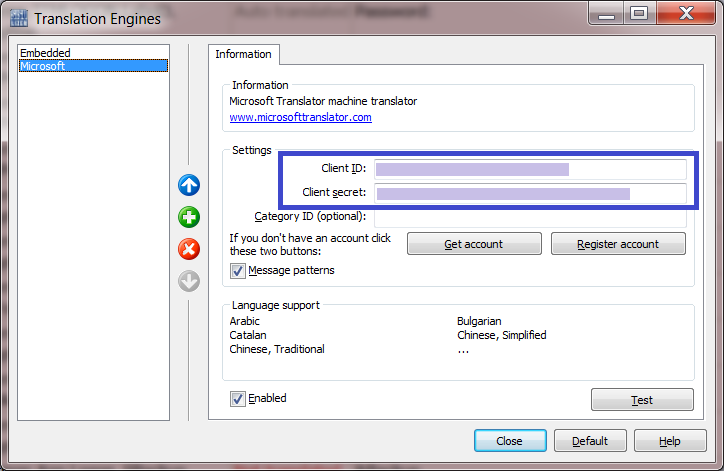
Use Tools | Translation Engines... to configure translation engine:

Microsoft Translator provides 2,000,000 Characters free of charge per month. Charged subscription is available for additional characters translation.
Follow these steps to use Microsoft Translator in Sisulizer:
- Sign up Windows Azure Marketplace.
- Subscribe Microsoft Translator. e.g.: Subscribe 2,000,000 Characters/month for free.
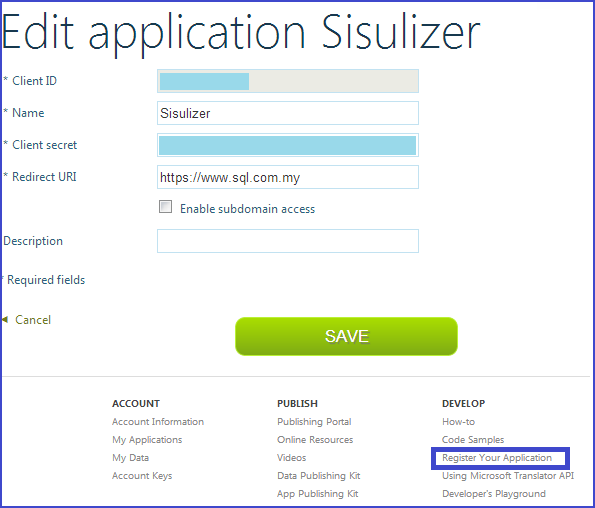
- Click
Register Your Applicationat the bottom of your Windows Azure Account for Sisulizer application:
- Start Sisulizer, open Tools | Translation Engines… to add Microsoft Translation Engine:
- Enter Client id and Client secret accordingly. You may also use the Register Account button in Sisulizer to register Sisulzer to your Windows Azure account:
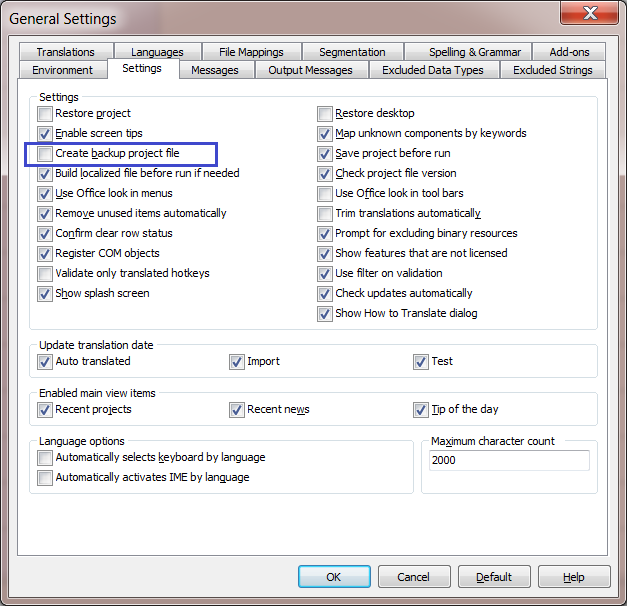
Disable Create Backup project File
Localized Delphi Application
- Open Sisulizer project wizard:
File | New... Select Source Type:
Localize a file or files

Select File. Select an executable binary file. e.g.:
.EXE,.BPLor.DLL

- Select File Format: Delphi binary file
- Select Windows resource types
- Set additional VCL option:
- Unset
Localized files - Set
Resource DLLs - Set
DRC file name
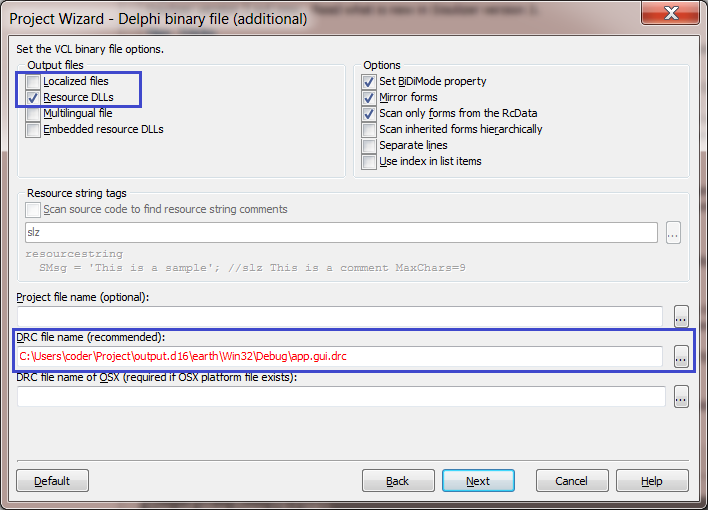
- Unset
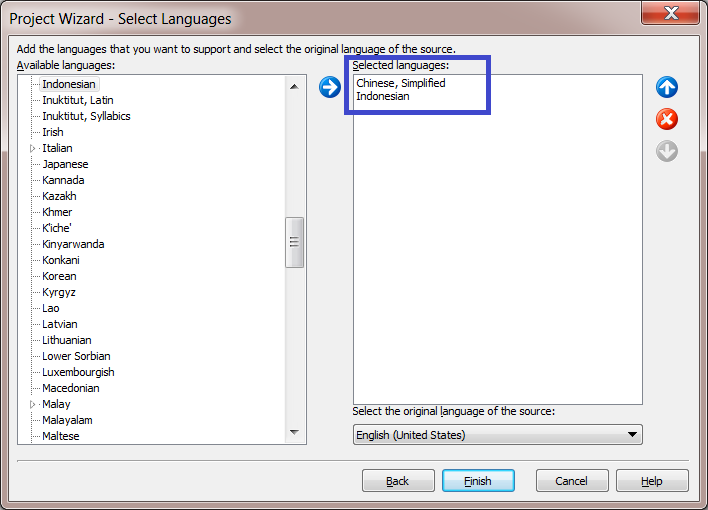
Select languages:
Click
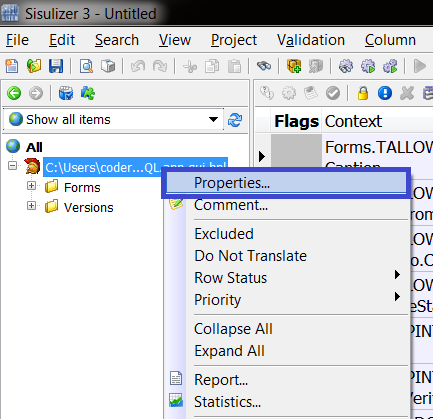
Finishbutton to close project wizard.Open project
properties:
Set Resource DLLs file name template as . (ISO hyphen language code):

Set
Ignore Form ScalinginVCL optionspage:

Start localization process by using manual translation or translation engine.
- Build project to produce resource DLL files:

No comments:
Post a Comment